Imagine you upload some precious travel photos, but after compressing or exporting them, they turn blocky, noisy, or overly blurred. The edges are jagged, the colors look washed out, and the details are lost. This is where AI tools to remove jpeg artifacts become a lifesaver.
While compression is sometimes necessary, the visual damage isn't permanent. In this guide, we will explore how to restore your images to their original sharpness using advanced AI technology.
- On This Page
-
What Are JPEG Artifacts?
-
The Gap Before and After You Remove JPG Artifacts
-
How to Remove JPEG Artifacts to Enhance Your Pictures?
1. Hugging Face - Customizable JPEG Artifacts Removal
2. Pokeout - Remove JPG Artifacts Online Free for Portraits
3. Photoshop JPEG Artifacts Removal Filter - Pro Retouch
4. Fotor - JPEG Artifacts Removal via AI Enlarge
5. OpenArt - Remove JPG Artifacts with Creative Upscale
-
Beyond Remove Artifacts from Only Image - Video Enhance
-
Tips to Avoid JPG Artifacts
What Are JPEG Artifacts?
Before we dive into the solutions, it is essential to understand exactly what we are fighting.
1. What are jpeg artifacts
JPEG artifacts are visual distortions that occur when an image is compressed to reduce its file size. The compression algorithm groups pixels together, often discarding "less important" data to save space.
2. Its typical types
- Pixelation (Blocking): The image appears to be made of small square grids, usually 8x8 pixels, destroying fine detail.
- Color Banding: Instead of a smooth gradient (like a sunset), you see harsh, distinct stripes of color.
- Ringing (Mosquito Noise): Faint, shimmering halos or fuzziness that appear around sharp edges or high-contrast lines.
3. How do they happen
- Lossy compression: JPEG squeezes file size by discarding some image data, which creates artifacts.
- Re-saving multiple times: each time you re-save a JPEG, compression losses accumulate, worsening artifacts.
- High compression settings: images exported with aggressive compression tend to show more blockiness or banding.
The Gap Before and After You Remove JPG Artifacts
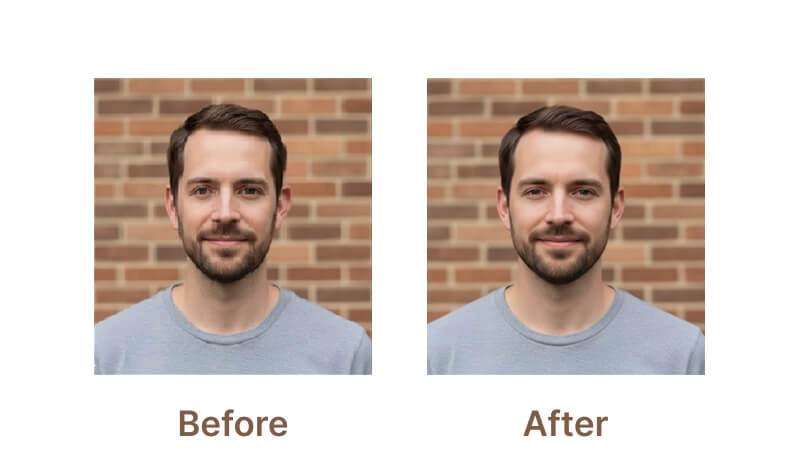
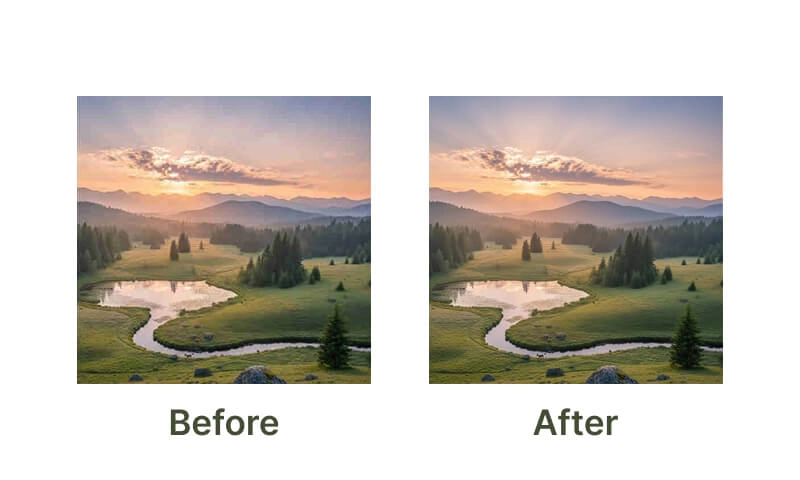
Imagine a portrait where the subject's skin looks like a low-resolution texture map, or a landscape where the sky looks like a staircase of blue stripes. This is the "Before."
Once you apply jpeg artifacts removal techniques, the "After" is a revelation. Here are some of the examples of how ‘before and after’ looks after removing JPG artifacts.
Example 1: Removing jpeg artifacts for a human portrait
Example 2: Removing jpeg artifacts for a nature landscape portrait
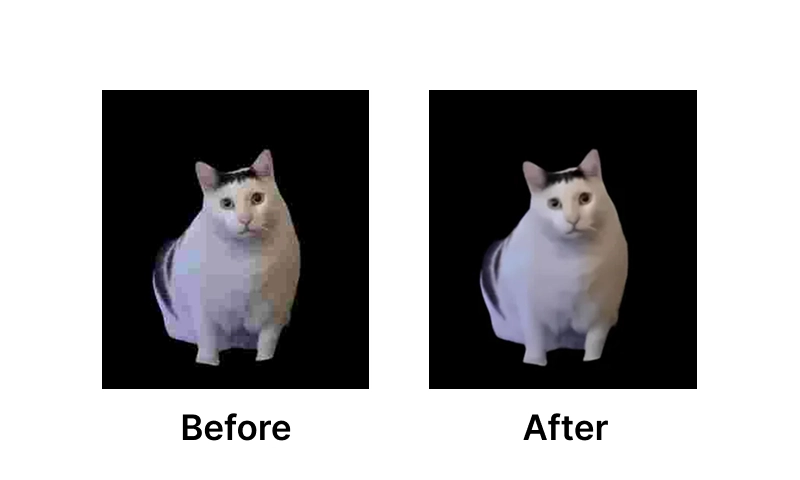
Example 3: Removing jpeg artifacts for a meme image
If your image also looks dull or low-quality beyond compression, you can additionally use an AI tool to enhance photo quality and recover missing details.
How to Remove JPEG Artifacts to Enhance Your Pictures?
In the past, fixing these issues required hours of manual cloning and blurring. Today, AI does the heavy lifting. We have tested and researched the top tools available to help you find the right fit for your workflow.
1. Hugging Face - Customizable JPEG Artifacts Removal
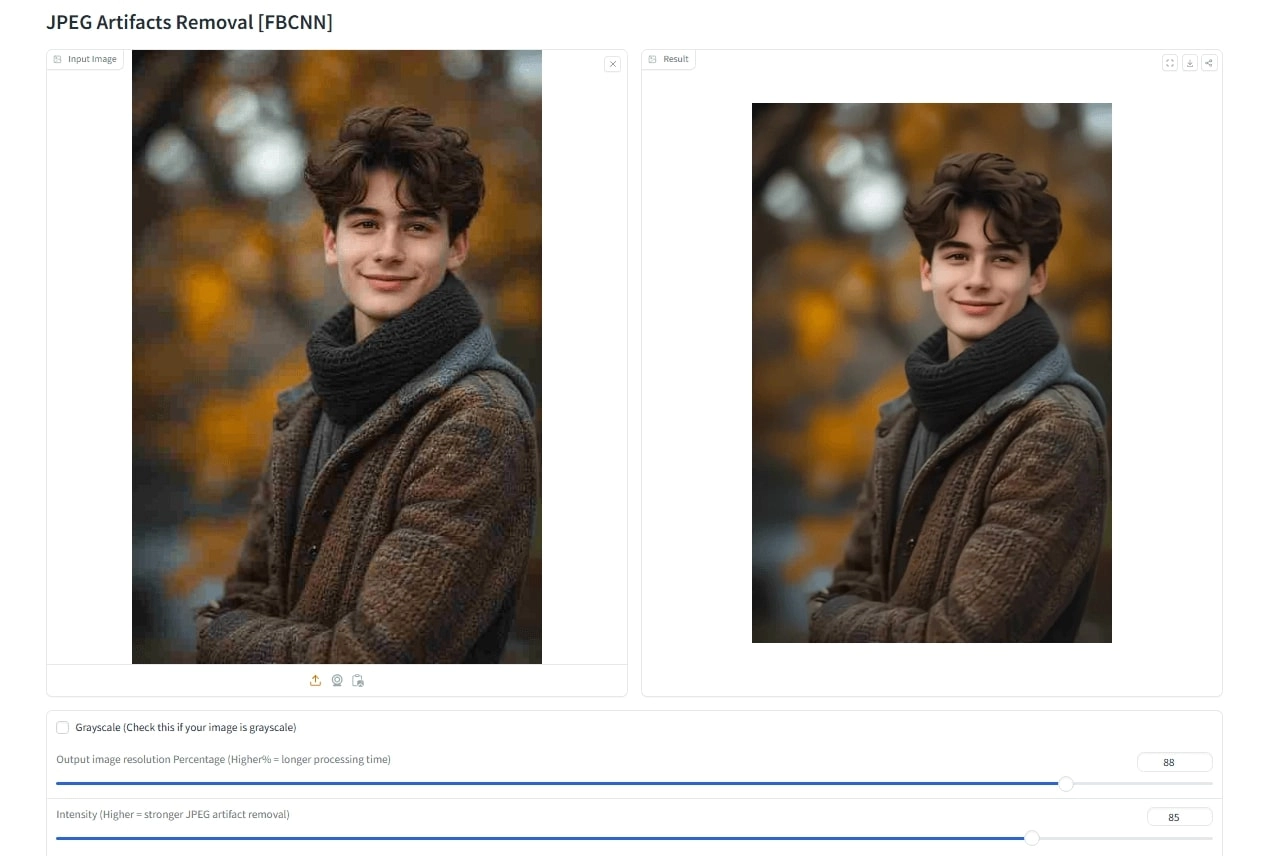
Hugging Face hosts a variety of cutting-edge AI models, and for this specific task, the FBCNN (Flexible Blind Convolutional Neural Network) space is a standout. Unlike standard one-click editors, this tool is based on deep learning, specifically trained to handle double JPEG compression. It is good at distinguishing between actual image detail and compression noise, offering a level of technical precision that many commercial tools lack.
Key Features:
- Quality Factor Control: You can manually adjust the estimated quality factor, giving you control over how aggressive the smoothing is.
- Double JPEG Restoration: Specifically designed to handle the complex artifacts that come from saving an image multiple times.
- Free Access: As an open-source demo space, it is free to use for anyone willing to navigate a slightly more technical interface.
Cons:
- Slower Processing: Depending on server load, generating the image can take longer than commercial apps.
- Technical Interface: It lacks the polished UI of consumer apps, which might intimidate beginners.
How to Remove JPEG Artifacts with Full Control?
Step 1. Visit the Hugging Face JPEG Artifacts Removal web portal.
Step 2. Upload your source image.
Step 3. Adjust the sliders based on your preferences to create the desired output.
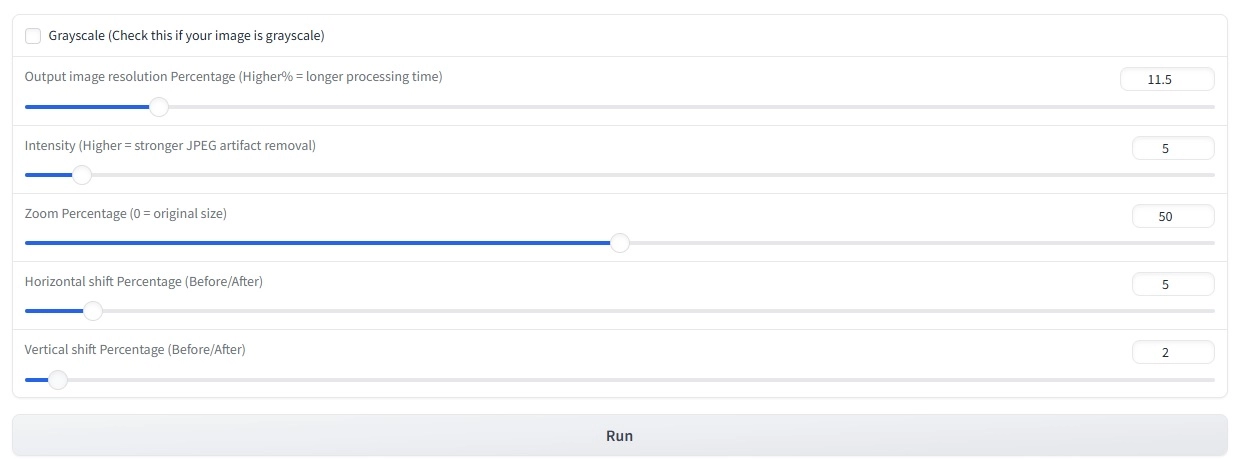
Step 4. Once done, click on Run to create your final, refined output. In our case, the pixelation of the portrait is refined.
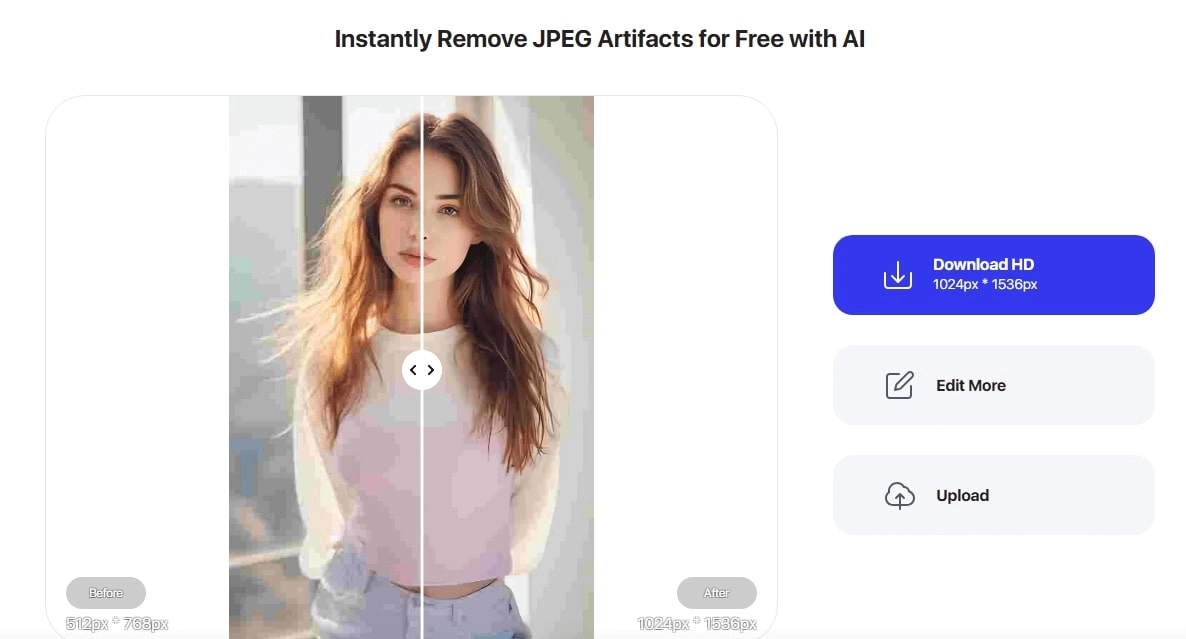
2. Pokeout - Remove JPG Artifacts Online Free for Portraits
If you are looking for a user-friendly solution, Pokeout offers a straightforward way to remove jpg artifacts without downloading heavy software. This tool simplifies the process into a drag-and-drop interface, making it ideal for casual users who need quick results for social media.
Key Features:
- Optimized for Portraits: The AI is tuned to ensure skin textures remain natural while removing the noise around them.
- Batch Processing: It allows for handling multiple images, which is a time-saver.
- No Login Required: You can often perform quick edits without creating an account immediately.
Cons:
- It might over-smooth or slightly blur fine details in some images.
- You generally get one automated result without sliders to tweak the intensity.
How to Remove JPEG Artifacts from Your Selfies?
Step 1. Go to the Pokeout artifact removal page.
Step 2. Drag and drop your compressed selfie or portrait.
Step 3. Wait a few seconds for the automated remove jpeg artifacts online free process to complete. Here’s the final result.
And if your selfies suffer from reflections on lenses, you can pair artifact removal with a tool to remove glare from glasses for cleaner portraits.
3. Photoshop JPEG Artifacts Removal Filter - Pro Retouch
For those who prefer traditional editing software, Adobe Photoshop includes a dedicated JPEG artifacts removal filter / neural filter that does a polished job.
Key Features:
- Pro Retouch Capabilities: You can apply the filter as a "Smart Filter," allowing you to go back and change settings later.
- Strength Sliders: Precise control over "Low," "Medium," and "High" artifact removal levels.
- Suitable for professional workflows: Ideal when you need high fidelity output for print or design work.
Cons:
- Requires a paid license/subscription for full Photoshop.
- Hardware Heavy: Neural filters can tax your computer’s CPU and GPU.
How to Remove JPEG Artifacts Seamlessly?
Step 1. Open your image in Photoshop.
Step 2. Click on Filter from the navigation bar, and click Neural Filters…
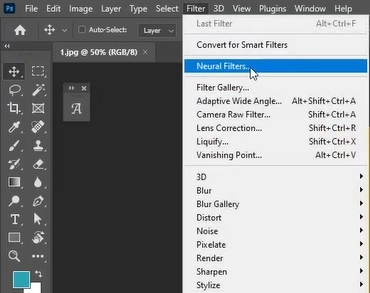
Step 3. Adjust the sliders from the right window to do color correction, image enhancement, etc., to get the desired final image.

4. Fotor - JPEG Artifacts Removal via AI Enlarge
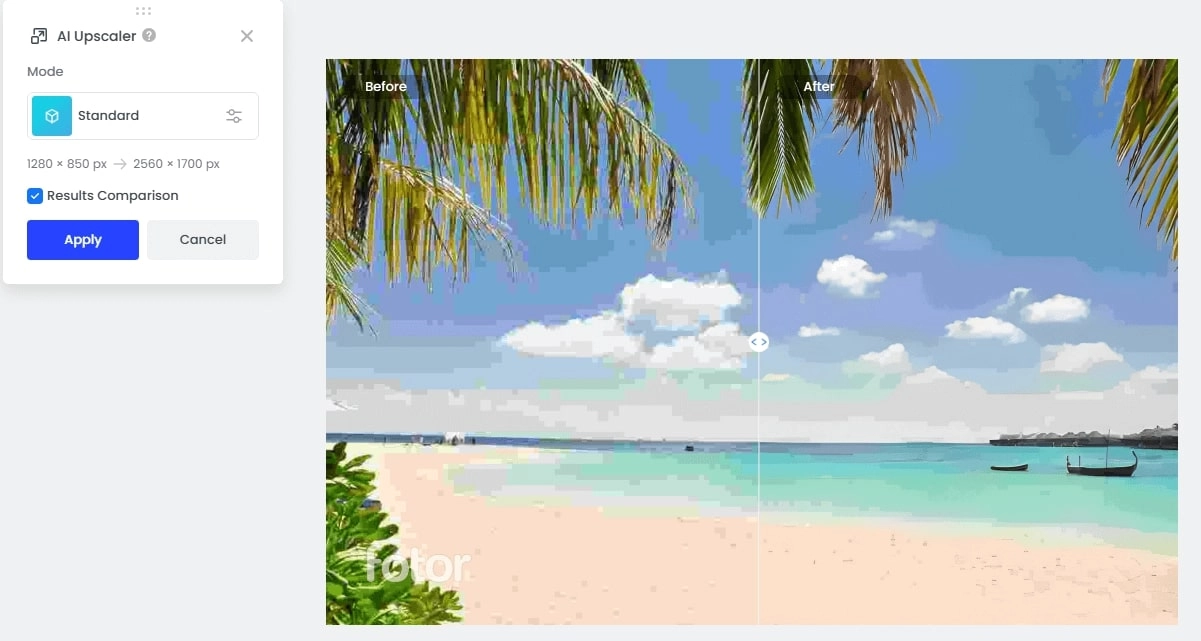
Fotor is a popular all-in-one web editor that approaches jpeg artifacts removal through upscaling. By using their "AI Enlarge" feature, the tool essentially rebuilds the image at a higher resolution, smoothing out the blocky 8x8 grids in the process.
Key Features:
- AI Enlarge: Increases resolution while simultaneously cleaning up noise and compression blocks.
- One-Tap Enhancer: Offers a "1-Tap" button that adjusts lighting and details alongside artifact removal.
- Cross-Platform: Available on web, iOS, and Android, making it accessible everywhere.
Cons:
- The free version often applies watermarks to the final download.
- Results depend heavily on the quality of the original image.
How to Remove JPEG Artifacts by Enlarging?
Step 1. Go to Fotor AI Enlarger.
Step 2. Upload your image.
Step 3. For free upscaling, select Standard mode, but Fotor also provides Advanced mode for which you need 2 credits.
Step 4. Click on Generate, and wait for the tool to process your image.
In some cases, a heavy filter intensifies JPEG artifacts. If that happens, you can always fix it with this photo filter removal guide.
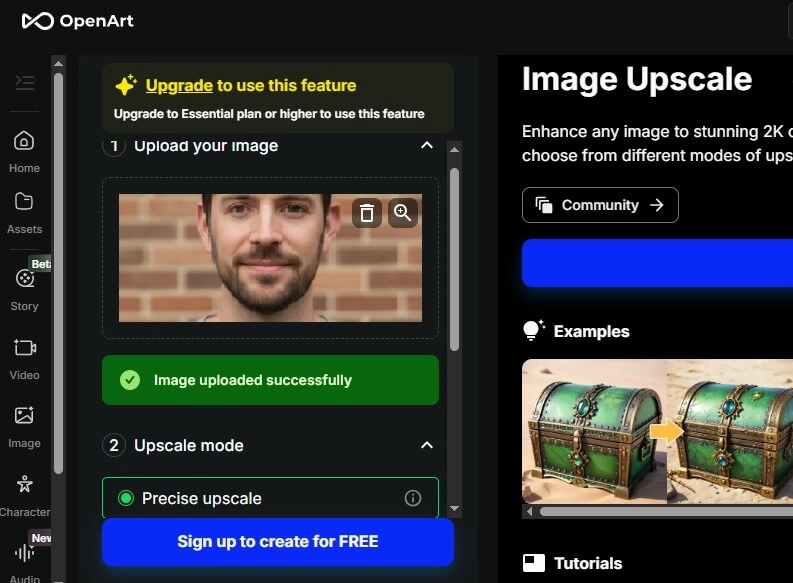
5. OpenArt - Remove JPG Artifacts with Creative Upscale
Another versatile option is OpenArt, which offers a “JPEG Artifact Removal” mode along with creative upscaling.
Key Features:
- Creative Upscale: Adds realistic textures (like hair or brick) that were lost entirely during compression.
- Prompt adherence: You can sometimes guide the restoration with text prompts.
- Community: Access to a vast library of community-generated styles and enhancements.
Cons:
- Creative upscale may alter your image’s original look.
- For heavy compression artifacts, results can vary.
How to Remove JPEG Artifacts & Recreate Images?
Step 1. Go to the OpenArt portal and upload your image.
Step 2. Tweak different settings from the portal, and sign up for free to generate an image.
Step 3. Once your account is created, click on Create to process the file. Here’s the result:

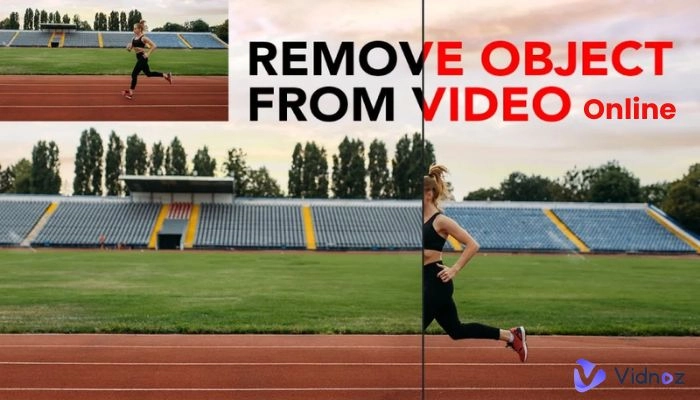
Beyond Remove Artifacts from Only Image - Video Enhance
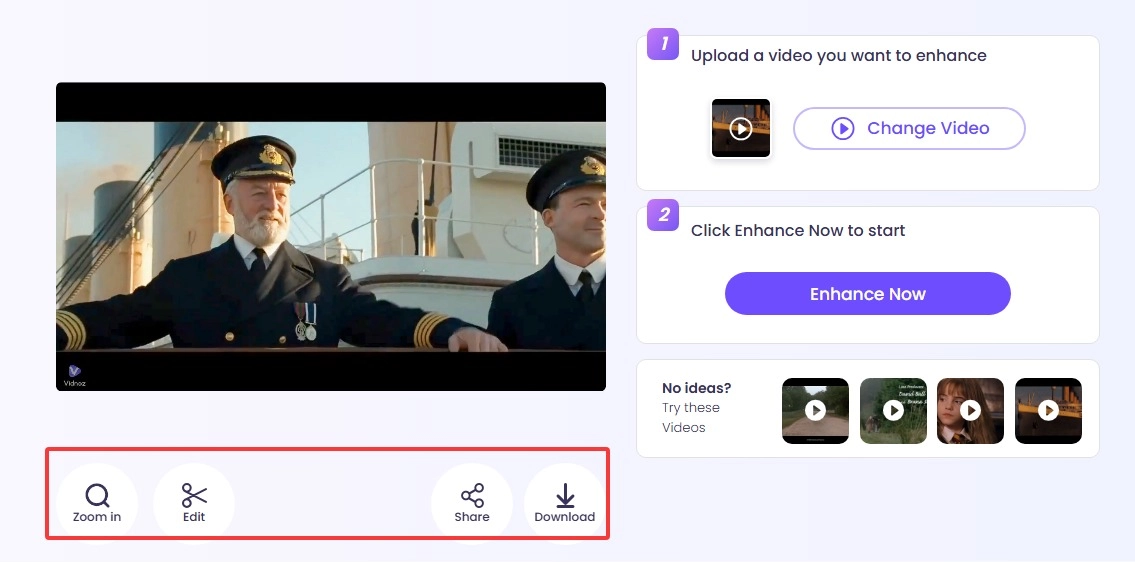
We have talked extensively about photos, but compression ruins videos just as often. If you have ever streamed a video with a bad connection, you know the pain of blocky, pixelated motion. To fix this, you need the Vidnoz AI Video Enhancer.

Key Feature
- Remove Video Artifacts after Compression: It effectively targets pixelation, blurriness, and small noise that occur during video rendering or streaming. It smooths color transitions to eliminate the "banding" effect often seen in skies or dark shadows.
- Free for 1-Click Enhancement: Unlike complex video editing software like Premiere Pro, Vidnoz offers a straightforward, free-to-use solution. You don't need to tweak bitrates manually; the AI analyzes the footage and applies the best fix automatically.
- Compatible & Accessible for Everyone: Whether you have an MP4, AVI, or MOV file, this tool supports multiple formats. It is cloud-based, so you can enhance videos on a Chromebook, a high-end PC, or a tablet without compatibility issues.
How to Remove Artifacts from Video
Step 1. Visit Vidnoz AI Video Enhancer and upload your video.
Step 2. Once your video is uploaded, click on Enhance Now. Wait for the tool to process.

Step 3. You’ll feel the difference in enhanced video quality, color grading, and crisp video pixels once it’s done with processing. Here’s the final result:
If you also need to clean your footage from branding or overlays before enhancement, you can first use an AI tool to remove watermark from video.
Tips to Avoid JPG Artifacts
While tools to remove jpeg artifacts are powerful, prevention is always better than the cure.
- Save in Lossless Formats: Whenever possible, shoot or save your work in PNG, TIFF, or RAW formats. These formats do not discard data to save space.
- Stop Re-saving: Avoid opening a JPEG, making a small change, and saving it again as a JPEG. This compounds the compression errors.
- Check Compression Settings: When you must use JPEG, ensure your software is set to "Maximum Quality" (usually 10-12 in Photoshop or 100% in other apps).
- Use Correct Dimensions: Don't rely on the browser to resize your images; save them at the exact display size to avoid browser-induced scaling artifacts.
The Bottom Line
If you’ve ever struggled with pixelated, noisy, or distorted JPEGs, now you have multiple ways to fix them. Whether you want to remove jpeg artifacts from a treasured photo or restore clarity to compressed video, these methods make it accessible and easy. Try one or more tools from Vidnoz, and rediscover the crisp, clean image beneath.